
If you are travelling with an iPhone, getting data abroad is easier than it was two generations ago – and most people still make it harder than it needs to be. The confusion usually boils down to one mix-up: installation and activation are different moments, and treating them as the same thing either wastes days of validity or leaves you offline when the wheels touch down.
This guide walks an iPhone user through the whole journey: checking your phone is actually ready, installing the eSIM profile at home on Wi-Fi, setting up dual SIM so your home number keeps working while data travels on the new line, fixing the settings that routinely catch people out, and the five-minute routine that gets you online the moment you land. It covers iOS 17 and 18 (the menus barely moved between them), with Android differences noted briefly near the end. Plan details change, so treat the live listing on each product page as the source of truth before you buy. The generic walkthrough also lives in our guide How to Install a Travel eSIM Before Your Flight.
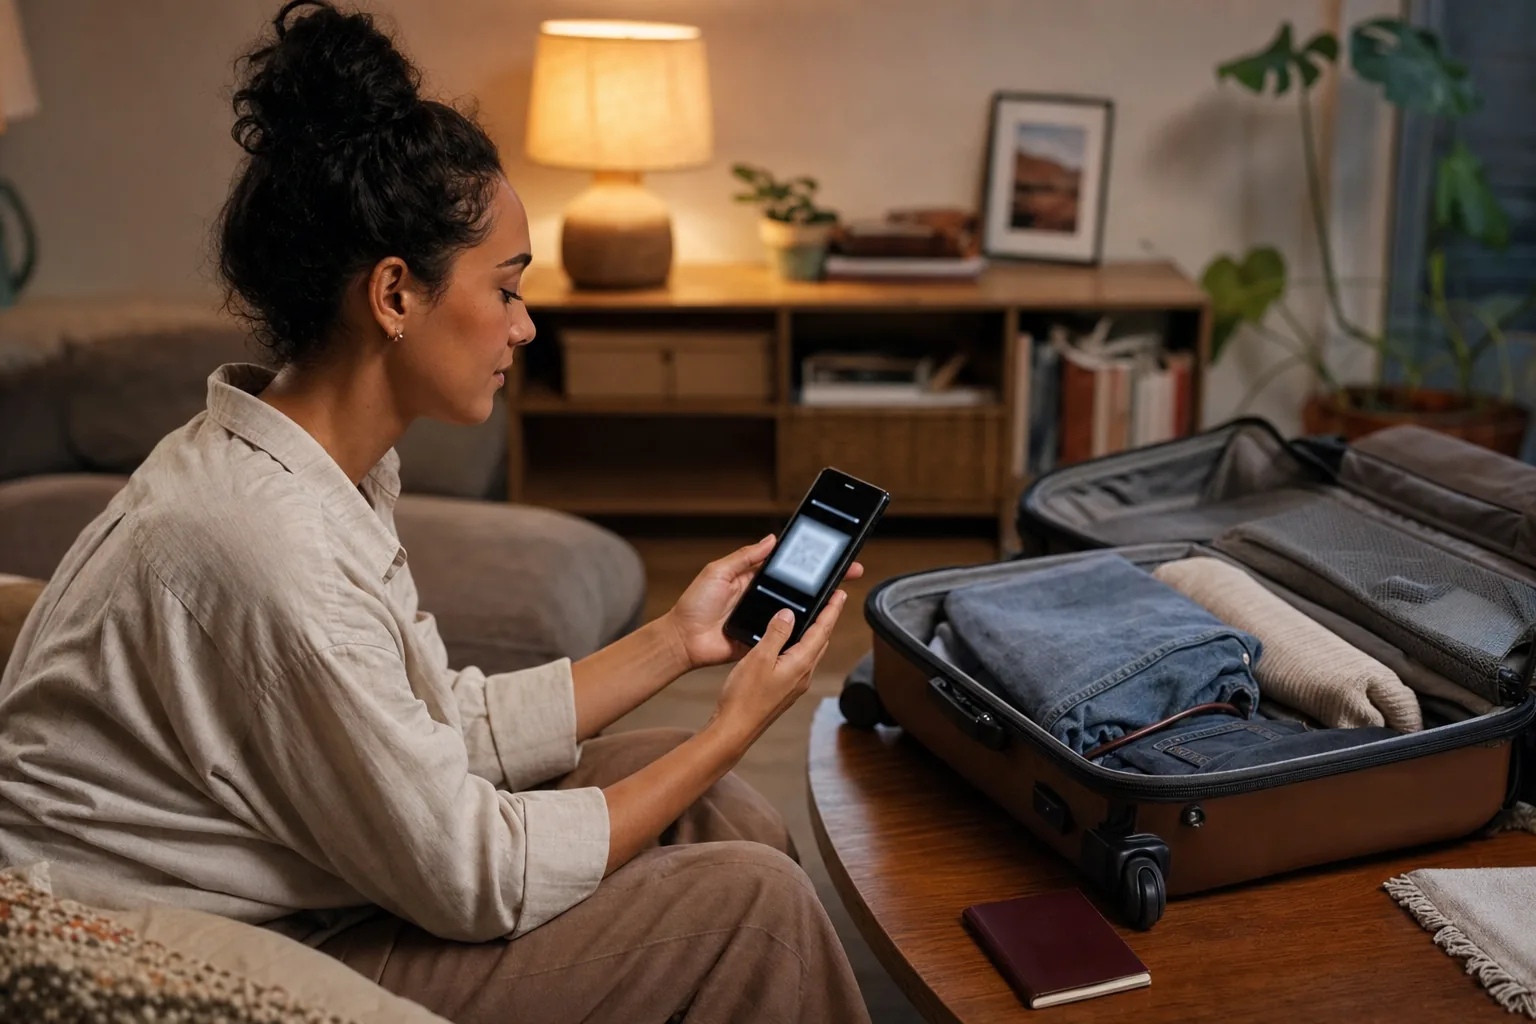
Why iPhone makes travel eSIMs easy (and where people still go wrong)
Apple made eSIM mainstream. Since the iPhone XS and XR, every iPhone can hold a digital SIM alongside – or instead of – a physical one. From iPhone 14 onward, US models have no physical SIM tray at all: eSIM is the only option. For international travel that is a feature, not a limitation, because a travel eSIM costs a fraction of carrier roaming and removes the airport SIM queue entirely.
Where people still go wrong:
- They install the eSIM and immediately switch the line on at home, starting the validity countdown before they board;
- They turn on data roaming for the wrong line, racking up charges on their home number;
- They panic that their own number has disappeared, when it is really just sitting quietly on the other line;
- They scan the QR code with the wrong phone, then wonder why the code “does not work”;
- They delete the eSIM after installing, not knowing the QR works once and deletion is permanent.
None of these are difficult to avoid once you know which menu does what. The sections below take them one at a time.
Before you buy: is your iPhone ready?
Three checks, done before checkout, save more support tickets than anything else.
1. Is your iPhone eSIM-compatible? Broadly, yes if it is iPhone XS, XS Max, XR or newer – including all iPhone 13, 14, 15 and 16 models. If your phone is iPhone X or older, there is no eSIM path and you need a physical SIM (or a newer phone). A quick confirmation lives in Settings: tap Settings → General → About and look for an EID number near the bottom. An EID is the embedded-SIM identifier; if your About screen has one, the hardware supports eSIM.
2. Is your iPhone carrier-unlocked? A phone still locked to a carrier will refuse an eSIM from another network. If you bought the phone outright or finished your contract, it is probably unlocked. If you are unsure, the safest pre-check: look for an “Add Cellular Plan” / “Add eSIM” option in Settings before you buy. If the option exists and your carrier is the current holder, test by temporarily adding any free trial eSIM profile – or simply accept the site policy that incompatible or locked phones are not refundable, and verify first. Do not risk a non-refundable purchase on an assumption.
3. Are you on a recent iOS version? iOS 17 and 18 handle travel eSIMs well. Go to Settings → General → Software Update and install what is offered. Carriers sometimes ship tiny profile updates with iOS releases, and older versions occasionally stumble on newer provisioning flows. One thing update does not fix: a carrier lock or missing eSIM hardware.
A final practical note for US travellers flying out on iPhone 14 or later: your phone has no SIM tray. You cannot fall back to a plastic SIM abroad, so having the travel eSIM installed and tested before you reach the departure gate is essential.
The two moments everyone confuses: installation vs activation
This single distinction explains most failed experiences.
Installation. Downloading the eSIM profile onto your phone. You scan a QR code or type an SM-DP+ address and activation code from the delivery email. It takes two minutes on your bedroom Wi-Fi. Installation by itself does not connect you to a foreign network.
Activation. This is when the plan becomes usable – and here plans split into two behaviours:
- First-connection activation. Most travel eSIMs, including the majority of destination plans on Easy Travel Data, start counting validity only when the eSIM first attaches to a network at your destination. These are forgiving: install days before you fly, leave the line switched off, and flip it on after you land.
- Install- or purchase-time activation. Some plans – including certain high-volume tourist packages – start the clock as soon as the profile is installed, or as soon as it is purchased. On these, installing a week early wastes a week.
Which rule applies is stated on the product page. Read it before you pay, because it determines when you install.
Practical convention that works for both:
- For first-connection plans: install at home on Wi-Fi whenever convenient before departure; keep the line off; enable after landing.
- For install-activated plans: install the evening before departure, or in the airport lounge. Some travellers install these with the phone briefly in Airplane Mode so the profile is present but the validity clock has not started; it begins when the phone next reaches a network. Confirm the exact rule on the product page rather than relying on this trick.
Step by step: installing a travel eSIM on iPhone (iOS 17/18)
You receive an email titled “Your eSIM is ready to install” with a QR code and, in the same email, the SM-DP+ address and activation code. Keep that email until the trip ends.
- Connect to Wi-Fi at home. Do not do this for the first time in the airbridge.
- Open Settings → Cellular (this menu reads Mobile Data in some regions such as the UK and Australia).
- Tap “Add eSIM” (on some iOS versions: “Add Cellular Plan”).
- Choose “Use QR Code”. Point your camera at the QR code in the email displayed on another device. Do not photograph the QR with the phone you are installing onto – the camera view cannot read its own screen reliably, and the code works only once. If the email is on the same phone, choose “Enter Details Manually” and type the SM-DP+ address and activation code exactly.
- Wait for “Cellular plan added”. This is installation complete. You may be asked to label the plan – you can rename it later.
- Do not delete the profile. The QR code works once, on one device. Deleting the eSIM removes it permanently.
Trouble scanning? Clear the email app’s zoom, increase screen brightness on the device showing the code, and make sure no glare crosses the pattern. If it still fails twice, switch to Enter Details Manually – it is slower but unfailingly reliable. And never screenshot-and-send the QR to a travel partner hoping to share it; each eSIM is single-use, single-device. A partner needs their own plan.
Some iOS versions also offer “Transfer from Nearby iPhone” – that flow moves an existing line between two iPhones you own. It is not how you provision a newly purchased travel eSIM; stick with QR Code or Enter Details Manually for a fresh purchase.
Dual SIM on iPhone: which line does what
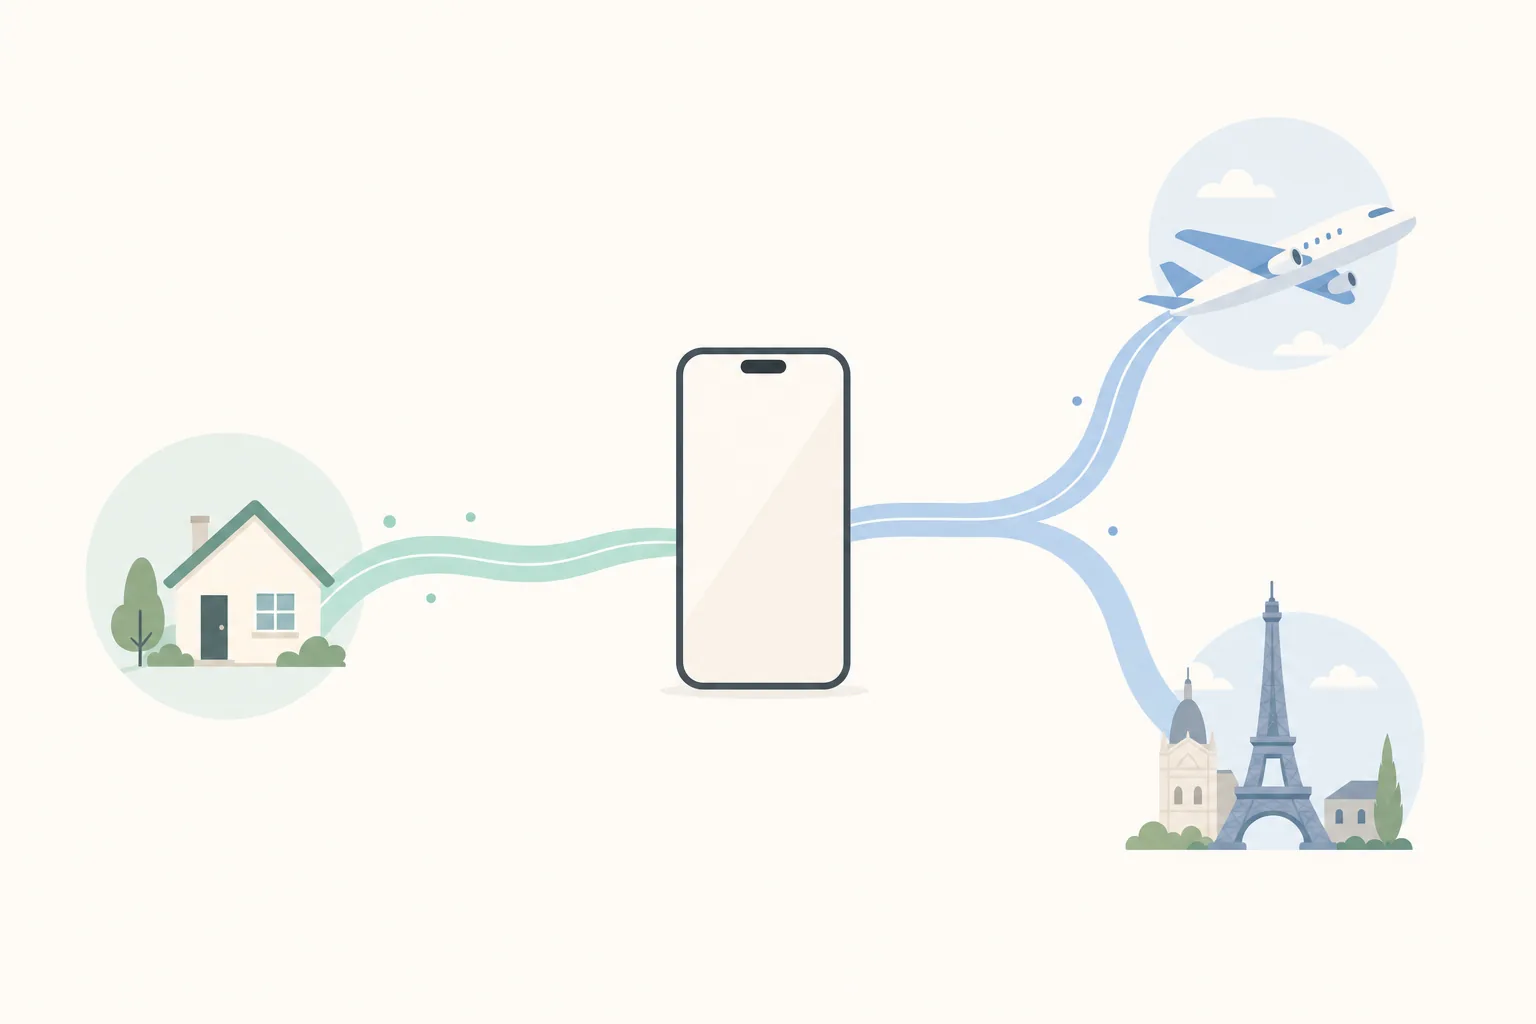
Once installed, your iPhone holds two lines: your permanent home line and the temporary travel line. The whole point of this setup is that your home number keeps working while data travels on the eSIM. Getting the roles right is a five-tap job:
- Settings → Cellular – you should now see two lines listed.
- Tap the travel line and turn it ON (but do not enable its data yet if validity starts on first connection – see the previous section).
- Set the default voice line: back in Cellular, tap Default Voice Line and choose your home line if you want regular calls to keep coming in as usual. Some travellers prefer the travel line if they bought one with call minutes – most Easy Travel Data travel plans are data-only, so home line stays the default.
- Cellular Data: choose the travel eSIM line.
- Allow Cellular Data Switching: you may leave this off for a trip. When it is on, iOS can flip mobile data back to your home line if the travel line is weak – which can trigger roaming charges on the home line. Keep it off unless you understand the trade-off.
Now label the lines sensibly. Tap each line → Cellular Plan Label and pick a custom label like “Home” and “Thailand” (or “Work” / “Travel”). The status bar then shows which line is carrying data at any moment, removing guesswork. In Control Centre, the cellular data tile displays the active data line – glance there to confirm you are on the travel line, not your home one.
A word on calls: with the eSIM line carrying data, your home line still rings for ordinary calls. If someone calls your home number, you answer on your home number – no international reception fee, because the incoming call rides your existing home plan, not the eSIM. This is the arrangement most travellers want.
The settings that catch people out: labels, defaults, iMessage and FaceTime
These do not break anything, but they cause hours of confusion.
iMessage. Open Settings → Messages → Send & Receive. You will see your Apple ID reachable at both your home number and, potentially, the travel number. For most people the correct setup is: keep your Apple ID and home number checked so conversations stay continuous, and leave iMessage messages starting from your home number. Incoming iMessages arrive regardless – the setting only affects the “from” address. Do not uncheck your home number expecting to save money; iMessage uses data, which is already routed through the eSIM.
FaceTime. Same place: Settings → FaceTime shows caller ID options for both lines. Choose whichever number you want recipients to see when you call them; inbound FaceTime calls ring on the Apple ID either way.
Personal Hotspot. When your travel line carries cellular data, the hotspot shares that data. This is the intended behaviour and works on plans that allow tethering – remember hotspot rules vary by plan, so check the product page. On Easy Travel Data, all Thailand plans allow hotspot; other destinations differ.
Visual Voicemail now has tabs, one per line. Do not be alarmed by seeing two voicemail inboxes; your home voicemail remains yours.
Messages forwarding and text-message forwarding to your other Apple devices use your Apple ID, not a specific line, so iPads and Macs generally keep working normally over Wi-Fi. Nothing about adding an eSIM breaks the rest of the Apple ecosystem.
The moment you land: five minutes to get online

You touched down. Five minutes, in order:
- Turn on the travel line (if it is not already on): Settings → Cellular → tap the travel line → toggle Turn On This Line.
- Enable data roaming for the travel line only: Settings → Cellular → Cellular Data Options (you may need to select the travel line first, depending on iOS version) → turn on Data Roaming. Leave data roaming off for your home line.
- Confirm Cellular Data shows the travel line at the top of Settings → Cellular.
- Wait up to two minutes. If bars do not appear, toggle Airplane mode on for ten seconds, then off. This forces a fresh network search.
- Open a map. If it loads, you are done. Celebrate quietly.
Keep your regular SIM active for calls and texts. Only the data goes through the new line.
Troubleshooting on arrival: no signal, slow data, “No service”
“No service” or no bars at all.
- Confirm the travel line is turned on (the most common cause).
- Confirm data roaming is enabled for that line.
- Toggle Airplane mode on for ten seconds, then off.
- Restart the iPhone.
- Select the network manually: Settings → Cellular → Network Selection → turn off Automatic → pick a listed local carrier. Wait up to two minutes after selecting.
- Check the plan’s start rule: if it activates on install/purchase and you installed weeks early, validity may already be exhausted. Conversely, if it starts on first connection and you switched the line on only now, you are fine.
- Finally verify the destination country is on that SKU’s coverage list – coverage lists are wholesale partnerships, not tourist geography.
Bars but no internet / very slow data.
- Confirm the Cellular Data setting is assigned to the travel line, not the home line (home-line roaming would be expensive and may be blocked).
- Check the cellular data mode: Settings → Cellular → Voice & Data → select 5G Auto (or LTE if 5G is absent). Avoid “5G On”, which drains battery.
- Try manual network selection as above – iPhones sometimes cling to a weak partner when a stronger one is available.
- Ensure you have not run out of data. Prepaid eSIMs simply stop when the bucket empties; they do not bill you further, but they do not magically continue either.
iMessage stuck on “Waiting for activation”.
Usually transient after a network change. Give it fifteen minutes on a working data connection, ensure the travel line has data, and leave your home number checked in Send & Receive. It almost always resolves itself.
“QR code already used” / “plan not found”.
The QR works once, on one device, and deletion is permanent. If it failed mid-provisioning you may have consumed the single attempt; contact support with your order details – do not buy a second plan assuming the first will retry.
If your travel partner uses Android
The concepts are identical – install profile, assign data to the travel line, keep the home line for voice, enable data roaming only on the travel line – but the menus differ. Briefly: Settings → Network & internet → SIMs → Add eSIM, then scan the QR code (or enter details manually). Set the travel eSIM as the mobile data SIM, enable data roaming for it, and leave the home SIM handling calls. Manufacturer skins (Samsung One UI, Pixel, Xiaomi) shift wording around, so if in doubt search Settings for “eSIM” or “SIM manager”.
FAQ
Can I keep my home number and use a travel eSIM at the same time?
Yes. An eSIM is an additional line, not a replacement. Your home number keeps receiving calls and texts; only mobile data routes through the travel line. This is the opposite of swapping in a foreign physical SIM, which takes your home number offline.
Will I get roaming charges on my home number?
Not if you assign Cellular Data to the travel eSIM and leave data roaming off for your home line. Voice calls to your home number are received on your existing home plan as usual. Double-check Settings → Cellular → Allow Cellular Data Switching is off, or iOS may flip data back to the home line when the travel signal is weak.
Does installing the eSIM use up my plan days immediately?
Only if that specific plan activates on installation. Most travel eSIMs start counting validity on first connection at the destination, so installing days before you fly wastes nothing. Read the activation rule on the product page – it decides when you should install.
Can I use my iPhone’s hotspot with a travel eSIM?
Yes, on plans that allow tethering. All Thailand plans on Easy Travel Data permit hotspot; other destinations vary by SKU, so check the individual product page. Remember the hotspot shares the same data bucket, so size accordingly if two devices will ride on one plan.
What if my iPhone is locked to my carrier?
A locked iPhone will not accept a travel eSIM. Unlock the phone with your carrier before travelling, or use a different unlocked device. Plans cannot be refunded simply because a phone turns out to be locked, so verify before you buy.
I deleted the eSIM by mistake. Can I reinstall it?
No. The QR code works once and deleting the profile removes it permanently. If your plan offers top-ups, you may be able to top up the original eSIM before deletion – but once deleted, buy a fresh plan. Keep the profile installed until the trip ends.
Conclusion: set it up calm, travel connected
An iPhone makes a travel eSIM the least stressful way to get data abroad. Install the profile at home on Wi-Fi, label the lines so you always know which is which, point cellular data at the travel line, and leave your home number doing exactly what it did before you left. You land already online, you avoid the roaming bill, and nothing about your real number changes.
The entire procedure is simple once installation and activation stop being the same moment in your head.
Before you go, confirm
- iPhone is eSIM-compatible (EID present in Settings → General → About) and carrier-unlocked;
- iOS updated to the latest version;
- You read whether the plan starts on first connection or on installation;
- Profile installed on home Wi-Fi using QR Code or Enter Details Manually;
- Lines labelled clearly, travel line assigned to Cellular Data, home line left as default voice;
- Data roaming enabled for the travel line only, and Airplane mode toggled on arrival if no signal appears within two minutes.
Soft next step
Install steps are identical in principle across destinations – browse live plans on the Easy Travel Data catalog, check sizing guidance in How Much Data Do You Need for Your Trip?, or compare true costs in eSIM vs Physical SIM vs International Roaming. Always verify compatibility, coverage, data, days and activation on the product page for the plan you buy.