
Thirty to forty minutes in the tourist-SIM queue after a long flight is a bad first memory of Seoul. You can skip that line: buy a prepaid travel eSIM before you leave, install on Wi‑Fi when the product rules allow it, and switch data on after you clear immigration.
Plan details change, so treat the live listing on each product page as the source of truth before you buy. Start with the South Korea eSIM category or the full Easy Travel Data catalog. This guide covers real-world coverage in Seoul, Busan and Jeju, day-one option math, how much data a map-heavy Korea trip burns, how to read GB/day tables, install vs activate timing, soft notes on registration and 5G, and a short arrival checklist. For a parallel destination model, see the Thailand travel eSIM 2026 guide.

Skip the queue: why Korea travelers now buy eSIM before landing
The picture is familiar: arrivals hall, tourist SIM counter, a line that looks short until every passport ahead of you needs a form. Cash at the kiosk is only part of the cost. Time, passport handling at some counters, and the risk of swapping out your home SIM under jet lag all add up.
A prepaid travel eSIM flips that sequence. You pay online with email plus a 6-digit code, no full account wall on Easy Travel Data, and the QR usually lands in your inbox within minutes. If the eSIM is not ready within about an hour, the 1 hour auto-refund path applies under current site policy. You keep your home SIM in the tray for calls and bank OTPs, point mobile data at the eSIM, and walk past the counter.
You are not buying “better Korean radio magic.” You are buying time back on day one and a prepaid data ceiling so roaming cannot surprise you. Easy Travel Data lists plans across 190+ destinations, with prices from $3.99; Korea-specific rows live on the category page linked above.
Coverage in practice: Seoul, Busan and Jeju Island
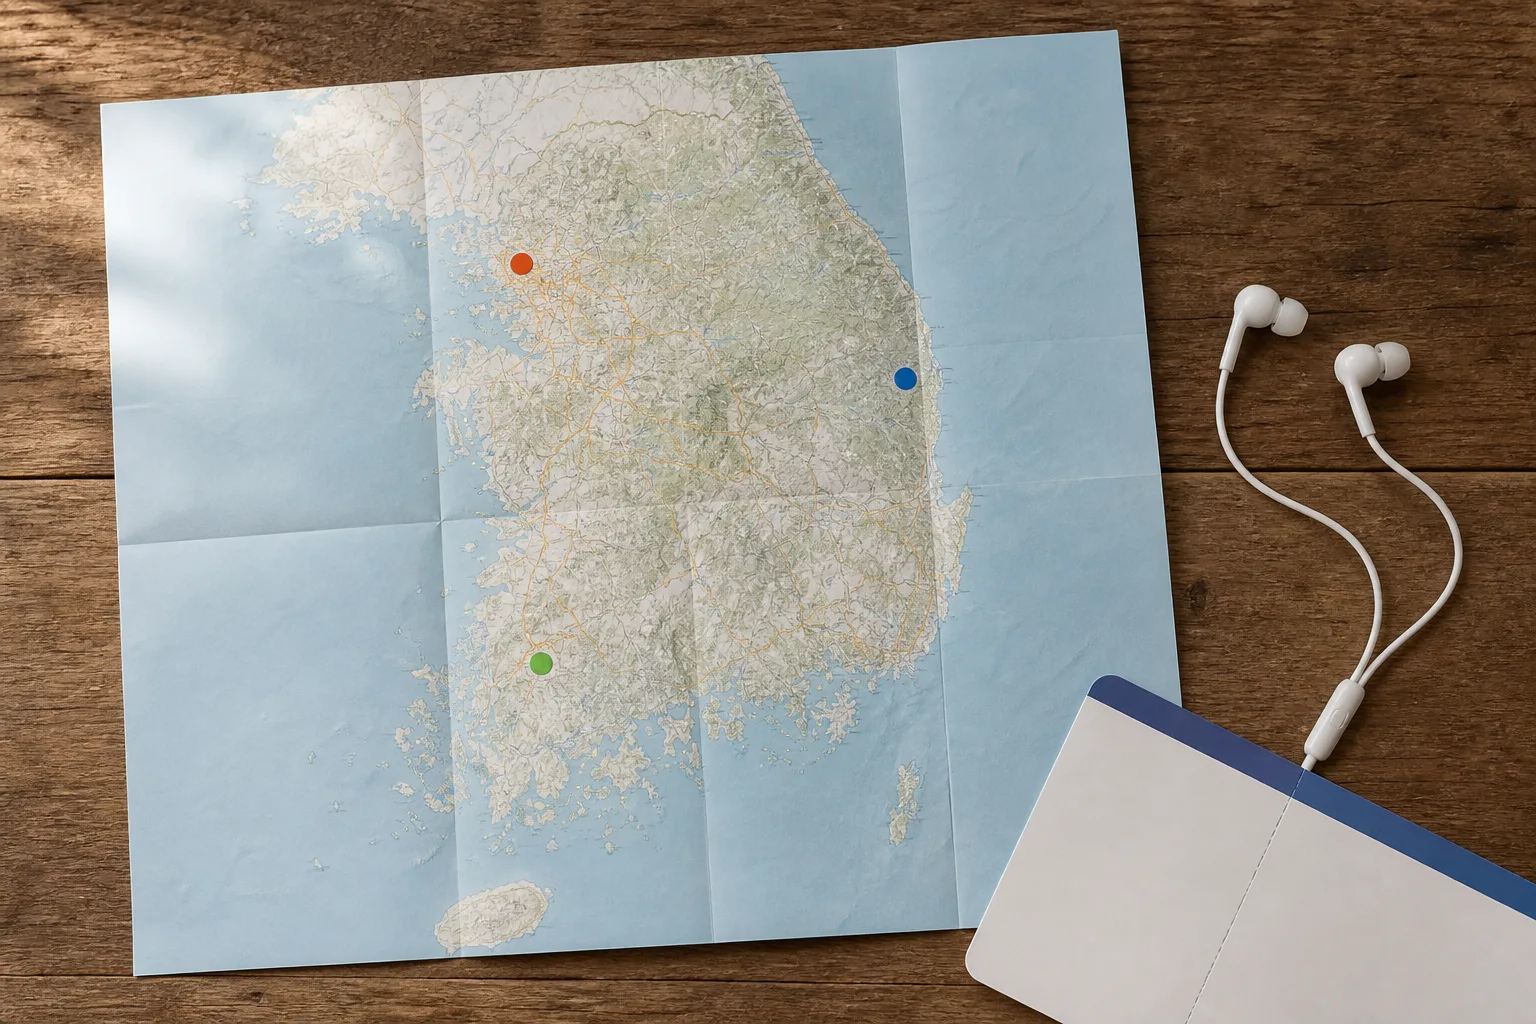
South Korea’s main visitor corridors sit on dense carrier networks. Seoul subway lines, major shopping districts, and hotel corridors typically hold a usable data signal. Busan destinations such as Haeundae and Nampo-dong are similarly well covered for tourist movement. Jeju Island as a whole is inside the footprint of the major networks that travel eSIMs usually ride. Treat “no signal on Jeju” as the exception, not the plan.
Honest caveats still matter. Mountain trails, some ferry approaches, and thin rural stretches can drop to slower speeds or brief gaps. If your itinerary adds remote islands or long hikes off the main roads, buy one GB tier higher than the Moderate column in the sizing table below. Coverage claims on a product page are network-partner maps, not a guarantee for every hiking ridge. Verify the live listing’s coverage notes before you rely on them for work calls.
Which connectivity option wins on day one?
Day one is where most people overpay in time or in roaming fees. Three realistic options:
- Airport tourist SIM. Physical card, counter paperwork, often a wait.
- Prepaid travel eSIM bought online. QR by email, install when ready, data on after landing.
- Home-carrier international roaming. Almost zero setup, highest bill risk.
This table answers which option is usually steadiest on arrival day. Cash figures are reference ranges, not quotes.
| Option | Cash outlay (reference) | Time cost | Hidden cost |
|---|---|---|---|
| Airport tourist SIM | Often tens of USD at the counter (varies by kiosk and promo, verify on site) | 30–40 minutes in line plus ID paperwork | Passport handling at some counters; SIM swap under jet lag |
| Online travel eSIM | Site-wide from $3.99; Korea RoamVault rows commonly listed from about $6.99 at time of writing | Under 5 minutes once the QR email arrives | Near zero when install timing matches the SKU rule |
| Home-carrier international roaming | Daily-fee or per-MB plans that add up fast (see A1 / A6 ranges) | Almost none | Bill shock if data stays on the home line |
How to read it: weigh the time and hidden-cost columns as heavily as cash. A “cheap” airport card that costs you the first afternoon is expensive. For the broader cost frame of eSIM vs physical SIM vs roaming, use the 2026 cost comparison.
How much data do you really need in Korea?
Korea trips burn data in small, constant bites: subway transfer maps, translation apps, restaurant queues, Kakao or Maps pins, photo uploads to group chats. Hotel Wi‑Fi helps in the evening; it does not replace daytime navigation.
This table answers trip length × usage habit = how many GB to buy. Moderate already includes a Korea uplift of about 20–30% over a quieter destination.
| Trip length | Light user | Moderate user | Heavy user |
|---|---|---|---|
| 3 days | 1–2 GB | 2–4 GB | 5–8 GB |
| 7 days | 2–3 GB | 4–7 GB | 9–15 GB |
| 10 days | 3–5 GB | 6–10 GB | 13–20 GB |
| 14 days | 4–7 GB | 8–14 GB | 18–28 GB |
| 30 days | 8–15 GB | 15–25 GB | 30–50+ GB |
How to read it: most Seoul–Busan visitors should start in Moderate and bump to Heavy if they stream or hotspot a laptop daily. Prefer the upper end of a range when the SKU cannot be topped up. Cross-check with the trip data calculator before you lock a row.
Which Korea plan fits your itinerary
Open the South Korea category and read five fields on each row before you care about the price badge:
- GB: match the sizing table, not a guess from last year’s Japan trip.
- Days: Korea RoamVault listings commonly show 15- or 30-day windows; a 7-day visit can still use a 30-day validity if first-data-use start is the rule.
- Top-up: RoamVault Korea plans are not top-up; if you might run out, buy one tier higher now.
- Hotspot / tethering: many Korea SKUs allow hotspot; confirm the live terms if a laptop workday depends on it.
- IP egress / start rule: RoamVault typically shows Hong Kong (HK) egress and validity from first data use.
Do not copy Thailand rules onto Korea. True’s Thailand Happy Tourist-class plans can be install activates (clock starts when the profile lands). That is a Thailand SKU behavior. Korea RoamVault rows on Easy Travel Data follow the RoamVault first-data-use pattern unless a live listing says otherwise. Always re-read the product page in your cart.
Site checkout still uses email plus a 6-digit code, QR delivery in minutes, and the 1 hour auto-refund if the eSIM never becomes ready. Browse siblings in the catalog only after the Korea row already fits GB and days.
Installation timing: buy now, switch on on landing
Installation is downloading the eSIM profile. Activation is when the paid day window starts. They are not always the same click.
For first-data-use plans (RoamVault-style), you can install at home on Wi‑Fi after purchase, leave mobile data off for that line, board the plane, and only enable data after landing. That protects the day counter. For install-activated plans (example: some True Thailand tourist SKUs, not your default Korea assumption), wait until you are ready to use data before you add the plan.
Practical sequence for a Seoul arrival on a first-data-use Korea SKU:
- Buy after tickets are firm.
- Install on stable Wi‑Fi before you fly (or on airport Wi‑Fi if you prefer).
- Keep the travel line’s mobile data off until you clear the gate area.
- On landing: airplane mode off → data roaming on for the eSIM if the listing requires it → set Cellular / mobile data to the travel eSIM → load a light page.
Full timing playbook across phones: how to install a travel eSIM before your flight.
Korea-specific traps: ID registration, 5G access and hotspot rules
Three topics create more anxiety than clarity. Soft language on purpose. Local rules and supplier onboarding can differ, and this draft does not invent Korean ID law.
ID / registration. Foreigner entry registration at immigration is not the same thing as buying a prepaid travel eSIM online. Most online prepaid travel eSIMs sold for visitors ask for email and payment, not a Korean national ID. Some airport tourist SIM counters still run ID or passport paperwork. If a specific SKU’s product page mentions extra identity steps, follow that page. Do not generalize from a kiosk story you heard in a chat group. Treat any “must register with Korean ID for every eSIM” claim as something to verify against the live listing and official guidance before you buy.
5G. Marketing copy that says “5G where available” means your phone must support the local bands and the serving cell must be 5G. It is not a guaranteed speed everywhere in Seoul, Busan or Jeju. Plan for solid LTE/4G as the floor.
Hotspot. Many Korea SKUs allow hotspot, but tethering is still a per-SKU term. Confirm before you promise a workday to a laptop. Also confirm that mobile data is already pointed at the travel eSIM before you enable the personal hotspot. Otherwise the home line may carry the tethered traffic.
Arrival-day checklist
Work this list in order before you open a support chat:
- Toggle airplane mode on for ten seconds, then off. Forces a fresh network attach.
- Confirm data roaming is enabled for the travel eSIM if the product page requires it.
- Set Cellular Data / mobile data to the travel eSIM, not the home SIM.
- Load a lightweight page that is not cached; if bars exist but no data, retry airplane mode once, then try manual network select.
- Only then enable hotspot, after data already routes through the eSIM.
Keep calls and SMS on the home line when your dual-SIM phone allows it. Most travel eSIMs are data-only. If something still fails after the five steps, revisit the install guide linked above and save screenshots of the SIM status page for support.
FAQ
Do I need Korean ID registration for an eSIM?
Most prepaid travel eSIMs sold online do not require Korean ID, but foreigner entry registration rules can differ by channel and supplier. Immigration entry formalities are separate from an email QR purchase. If a product page lists extra identity checks, follow that listing; otherwise expect email plus payment for typical visitor eSIMs. Soft-verify any strict “Korean ID required for all eSIMs” claim before you change plans.
Is 5G included in Korea travel eSIM plans?
5G depends on your phone model and local networks; do not treat it as guaranteed. Listings that mention 5G where available still fall back to LTE/4G on many cells. Size your expectations around reliable navigation speeds, not peak lab numbers.
Should I buy more data than I think I need for Korea?
Yes for most visitors, because subway navigation, translation and shop-finding burn data faster than usual. Prefer the upper Moderate or lower Heavy band in the sizing table, especially when the SKU cannot be topped up. Recheck with the data calculator if your trip mixes Seoul days with heavy upload evenings.
Will my eSIM still work if I add Jeju Island to my trip?
Coverage is broad across Seoul, Busan and Jeju, but buy one tier higher if you head to remote islands. Expect occasional weaker stretches on rural or coastal approaches. Download offline maps before ferry segments either way.
Can I hotspot from my Korea eSIM?
Many Korea SKUs allow hotspot; confirm per the SKU terms before planning to work off it. Point mobile data at the travel eSIM first, then enable the personal hotspot, then test from the laptop. Do not assume unlimited tethering on every GB plan.
Before you buy, confirm:
- Your phone is carrier-unlocked and eSIM-capable before you pay;
- You matched GB and days to a Seoul / Busan / Jeju itinerary using the sizing table (and bought one tier higher if the plan is not top-up);
- You read the live product line for validity start (first data use vs install) and did not copy Thailand install-activates rules onto a Korea RoamVault SKU;
- Hotspot, IP egress (often HK on RoamVault), and coverage notes on the product page match how you will actually travel;
- You know airport counter paperwork is separate from a typical online eSIM checkout (email + 6-digit code);
- You will install when the SKU allows it, but enable data only after landing when first-data-use applies.
Soft next step
For a South Korea trip, start with live plans on the South Korea category, size maps-and-subway days with How Much Data Do You Need for Your Trip?, and install before you fly using the pre-flight install guide or the iPhone dual-SIM walkthrough. Always verify coverage, data, days and activation on the product page for the plan you buy.