
Setting up a travel eSIM on Android takes about two minutes and does not require a carrier app or a third-party tool. The native SIM settings on Samsung and Pixel phones handle the whole thing, and the only real skill is knowing which menu to open and which switch to leave alone.
This guide covers the native setup path on Samsung Galaxy and Google Pixel phones (with a note on other Android brands), how to keep your home number working for calls while your travel eSIM handles data, the one hotspot setting people get wrong, and what to do when something does not connect on arrival. If your own phone is an iPhone instead, the iPhone travel eSIM setup guide covers the same ground for iOS. Plan details change, so treat the live listing on each product page as the source of truth before you buy. This guide is about the phone settings, not the specific plan. Browse the full lineup at the Easy Travel Data catalog.
The short answer: Android works better than most people assume
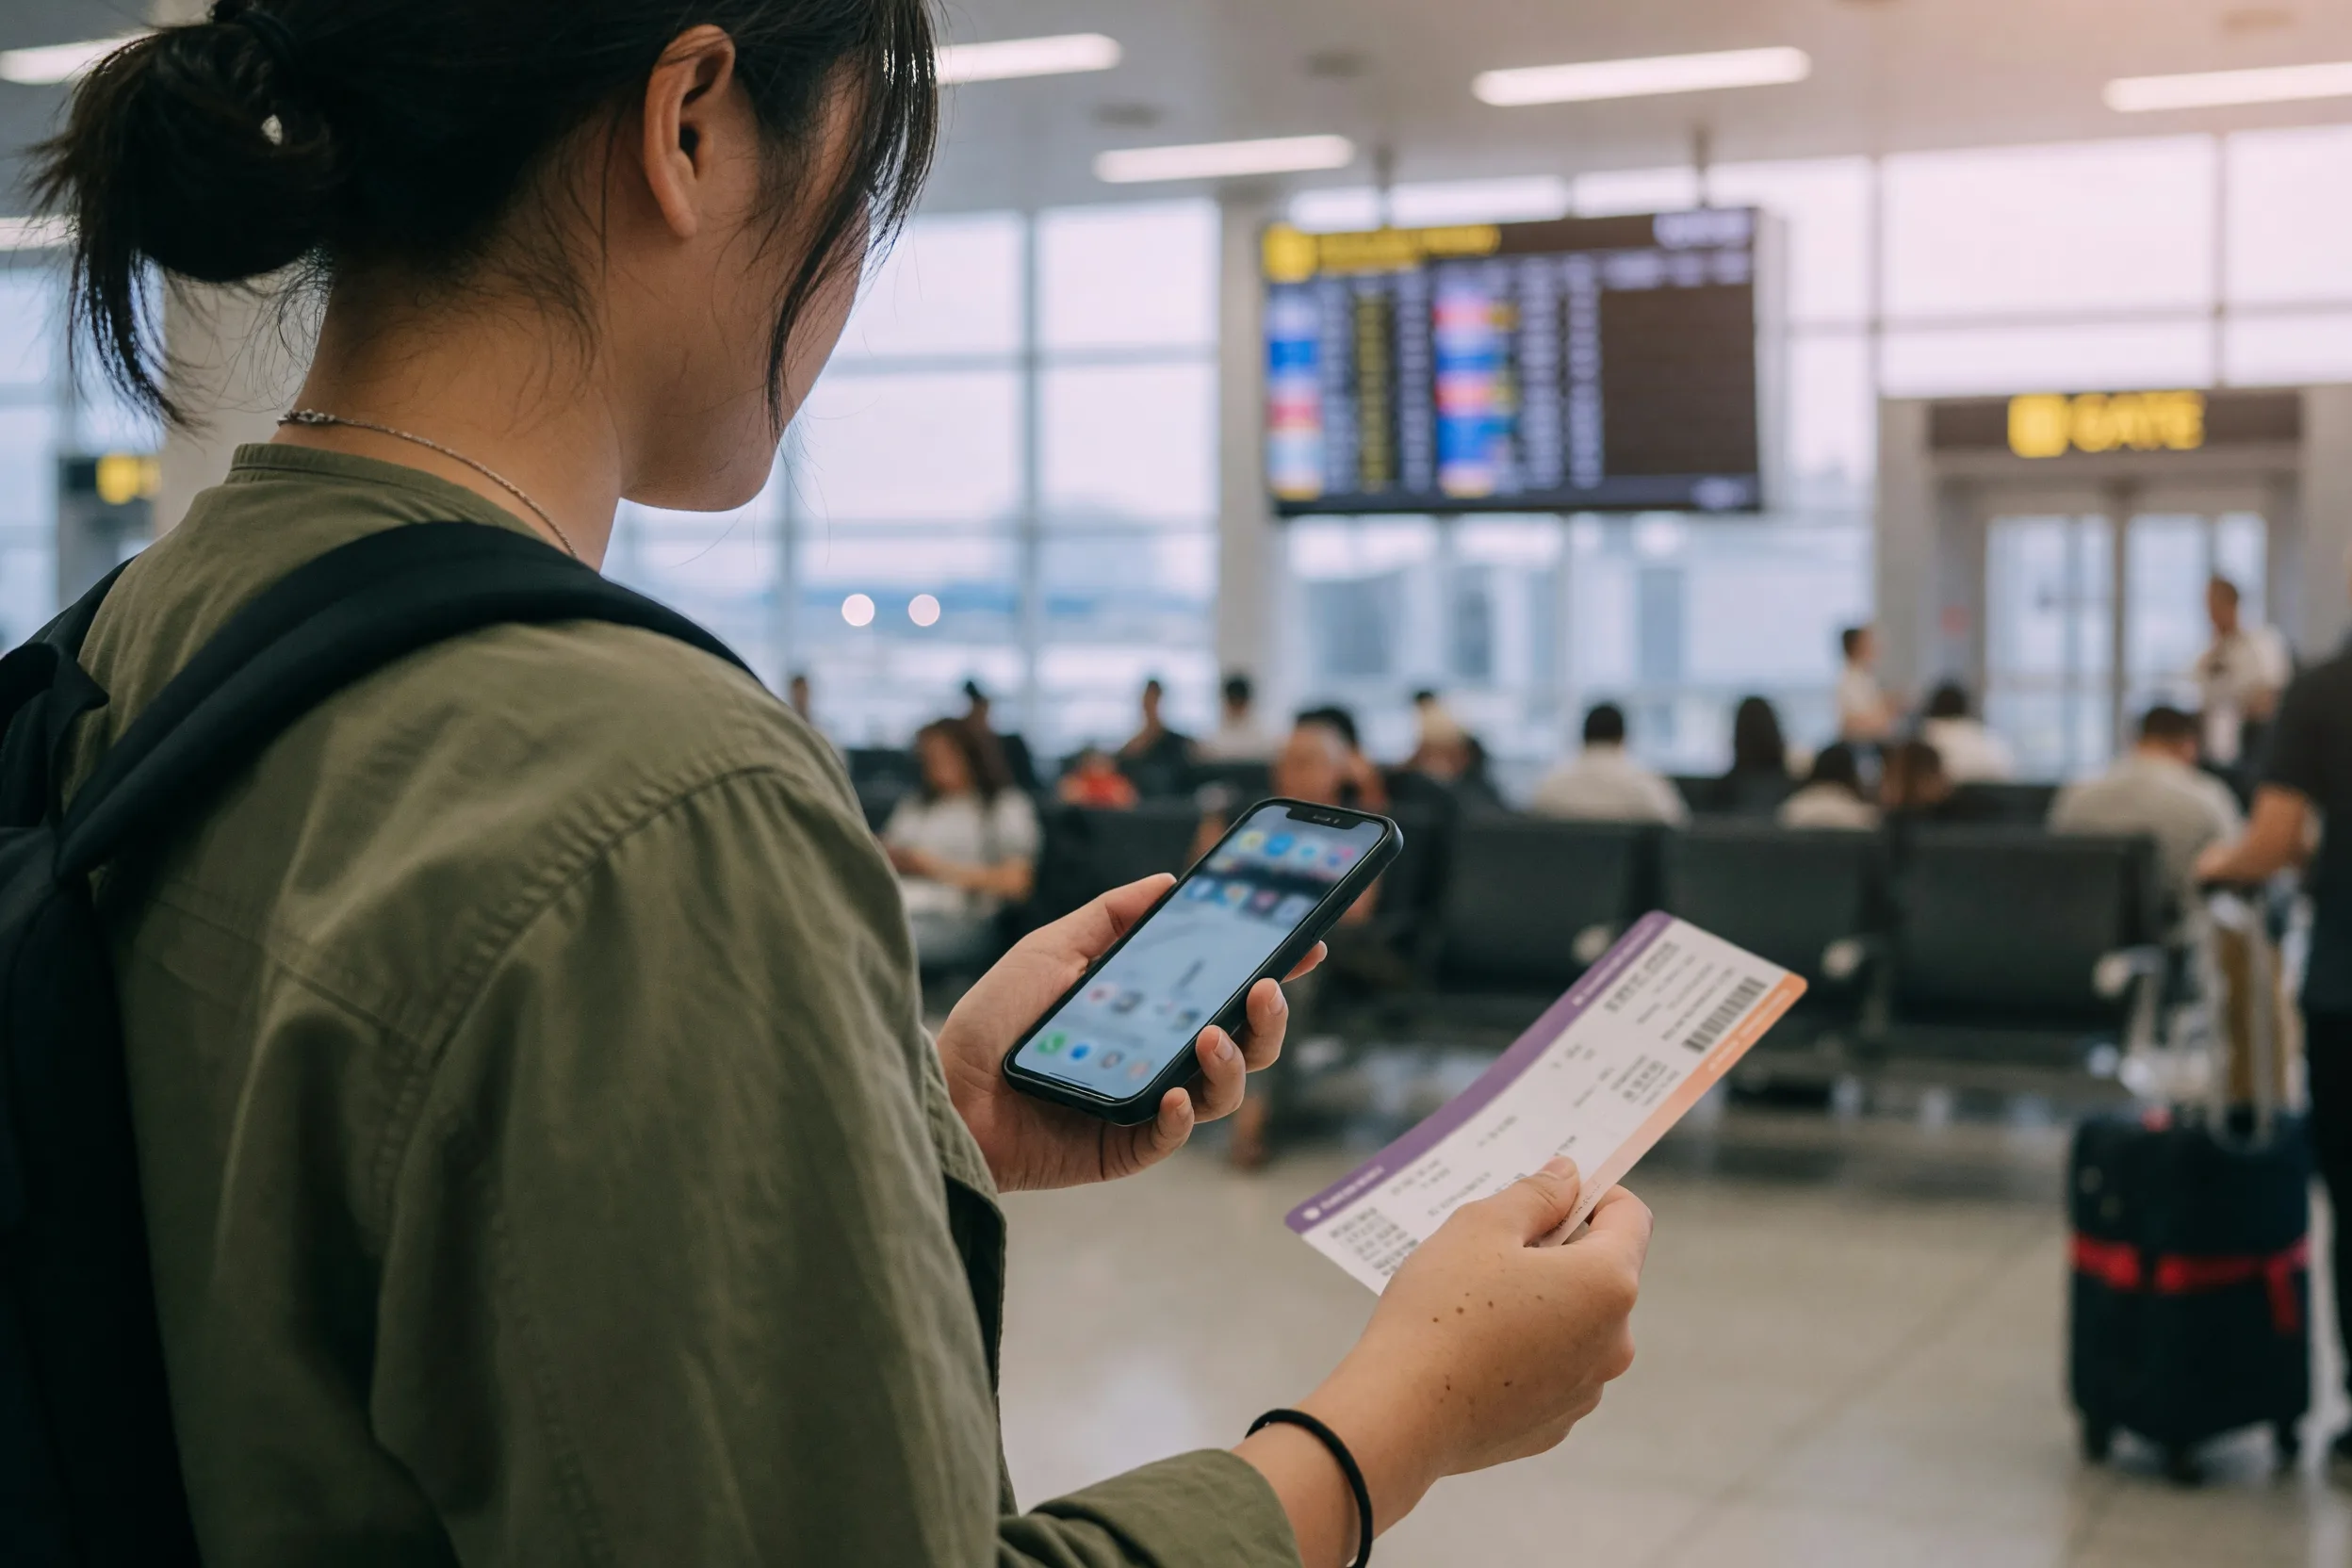
The idea that Android is harder to set up for eSIM than iPhone is mostly a hangover from a few years ago, before Android’s own SIM settings matured. On a current Samsung or Pixel phone, adding a travel eSIM is a native, built-in flow: scan a QR code (or tap a link), confirm, and the profile is on the phone. No app store detour, no manufacturer account sign-in required for the eSIM step itself.
What actually trips people up on Android is not the install, it is the dual-SIM configuration afterward: which line handles calls, which line handles data, and whether the phone is quietly allowed to switch between them on its own. Get that part right and the rest of the trip is uneventful.
Native setup, carrier apps, or QR codes: what’s actually the cleanest way in?
There are three ways an eSIM ends up on an Android phone, and they are not equally good.
Native eSIM setup is the phone’s own Settings menu adding a profile directly, either by scanning a QR code or through a one-tap “add eSIM” link from the provider. This is the cleanest option: no extra software, nothing to uninstall later, and the profile lives in the same SIM manager as your physical SIM.
Manufacturer or carrier apps sometimes offer their own eSIM activation flow layered on top of the native settings. These exist mainly for postpaid carrier plans tied to an account; for a prepaid travel eSIM they add a step without adding a benefit.
Scanning a printed QR code works, but it is the same native flow underneath. The difference is just whether the code arrives as an email attachment you scan from another screen (normal for a travel eSIM) or as a physical card handed over a counter (normal for airport SIM vendors, not for what this guide covers).
For a travel eSIM bought online, the native setup path is the one to use. Skip anything that asks you to install a separate app just to activate a data-only plan.
Native Android eSIM setup path
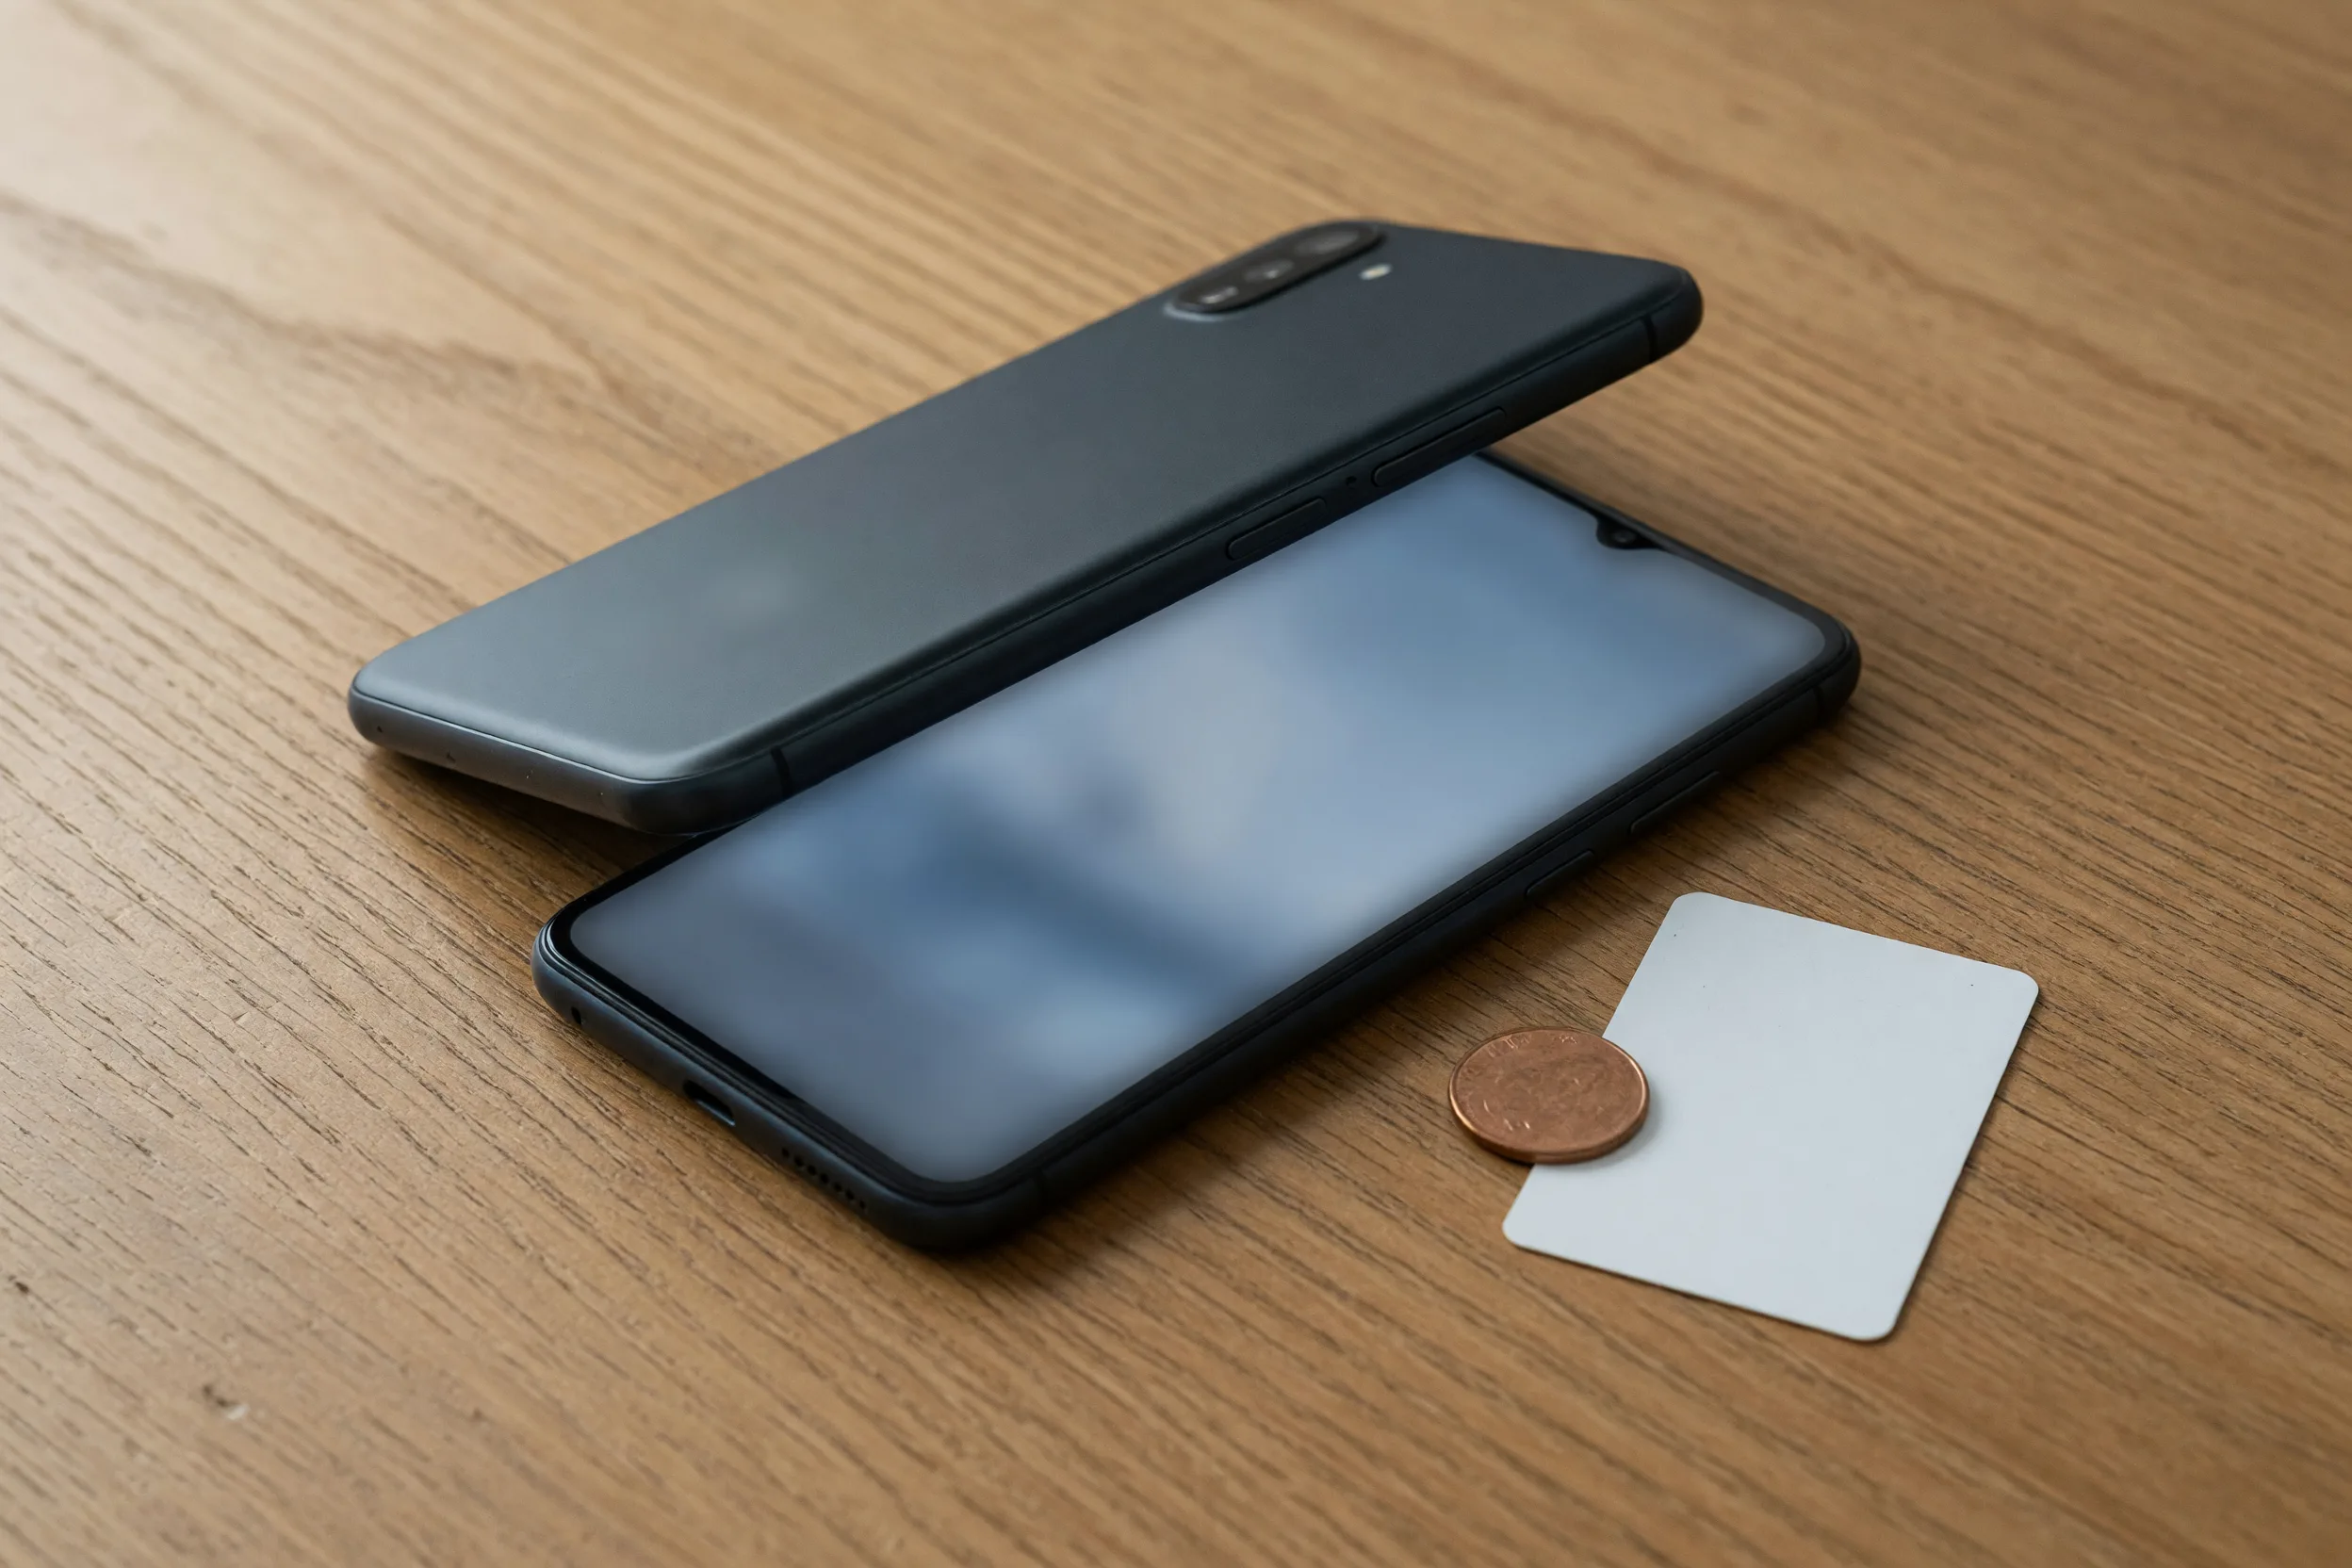
The exact menu wording differs by phone maker, but the shape of the flow is identical everywhere: open Settings, find the SIM section, add a new plan, scan the code.
Samsung Galaxy
- Open Settings.
- Tap Connections.
- Tap SIM manager.
- Tap Add eSIM.
- Scan the QR code from your confirmation email, or enter the activation details manually if scanning fails.
- Once the profile installs, give it a label you will recognize later (for example, the destination name) so it is not confused with your home SIM.
Google Pixel
- Open Settings.
- Tap Network & internet.
- Tap SIMs.
- Tap Add SIM, then Set up an eSIM.
- Scan the QR code or use the download link from your confirmation email.
- Label the new SIM once it installs, for the same reason as above.
| Samsung Galaxy path | Google Pixel path | Key difference |
|---|---|---|
| Settings → Connections → SIM manager → Add eSIM | Settings → Network & internet → SIMs → Add SIM → Set up an eSIM | Different top-level menu name (Connections vs. Network & internet) and one extra tap on Pixel |
This table solves one problem: what your own phone’s menu is actually called. Read only the column for your phone; treat the other column as background so you are not hunting through the wrong settings screen mid-trip.
Other Android phones (Xiaomi, OnePlus, Motorola, and others) follow the same basic pattern: a SIM or network settings screen with an “add eSIM” or “manage eSIM” option. The exact wording moves around between manufacturer skins and software versions more than it does on Samsung or Pixel. If you are not on one of the two phones above, search your Settings app for “eSIM” and you will land on the right screen.
Installation vs activation: does installing early really burn your days?
Installing an eSIM and activating it are two different moments, and mixing them up is the single most common way travelers lose paid days for nothing.
Installation is just downloading the eSIM profile onto your phone, the QR-code step above. It does not use any data and, for most plans, does not start the clock. You can do this at home, on your own Wi-Fi, days before you fly.
Activation is when the plan’s validity period actually starts. Most travel eSIM plans are built to start counting on first data use at your destination, not at the moment you install the profile. A smaller number of plans start counting from installation instead, and that detail is not the same across every SKU in the catalog.
The practical rule: install before you fly, but do not switch the eSIM’s data line on, or leave the phone connecting to a network, until you land. Before you buy, open the specific product page and check its activation terms. That field tells you which behavior applies to the plan you are about to pay for, and it is worth the ten seconds it takes to read.
Keep your home number for calls while data runs on the eSIM
The setup almost every traveler wants is: home SIM keeps handling calls and texts, travel eSIM handles data. That is a supported, ordinary dual-SIM configuration on Android, not a workaround.
In your phone’s SIM manager (the same screen you used to add the eSIM), there are separate settings for which line is used for calls, which for SMS, and which for mobile data. Set mobile data to the travel eSIM and leave calls and texts pointed at your home SIM. Both lines stay active; you are simply telling the phone which one to use for which job.
The setting worth paying attention to is automatic data switching, and it works differently depending on the phone:
- On Google Pixel, there is an explicit Automatic data switching toggle under Network & internet → SIMs. Google describes it as switching to whichever SIM has the better connection at any given moment. Left on while traveling, that can mean data quietly moves back to your home SIM if the travel eSIM’s signal dips even briefly, and that is exactly how a roaming charge shows up on a bill from a SIM you thought was inactive for data (see the roaming bill shock guide for how those charges add up). Turn it off and manually confirm the travel eSIM stays selected for mobile data.
- On Samsung Galaxy, the SIM manager’s official controls stop at picking a Primary SIM for data; there is no separate automatic-switching toggle described in Samsung’s own support documentation. That is one less setting to check, but it also means the “primary SIM” choice is the only lever you have. Make sure it is set to the travel eSIM before you leave the Wi-Fi network you used to install it.
Either way, also turn on data roaming specifically for the travel eSIM line (roaming is normal and expected for the eSIM; it is your home SIM’s roaming you want to leave off).
Hotspot on Android: the single setting people get wrong
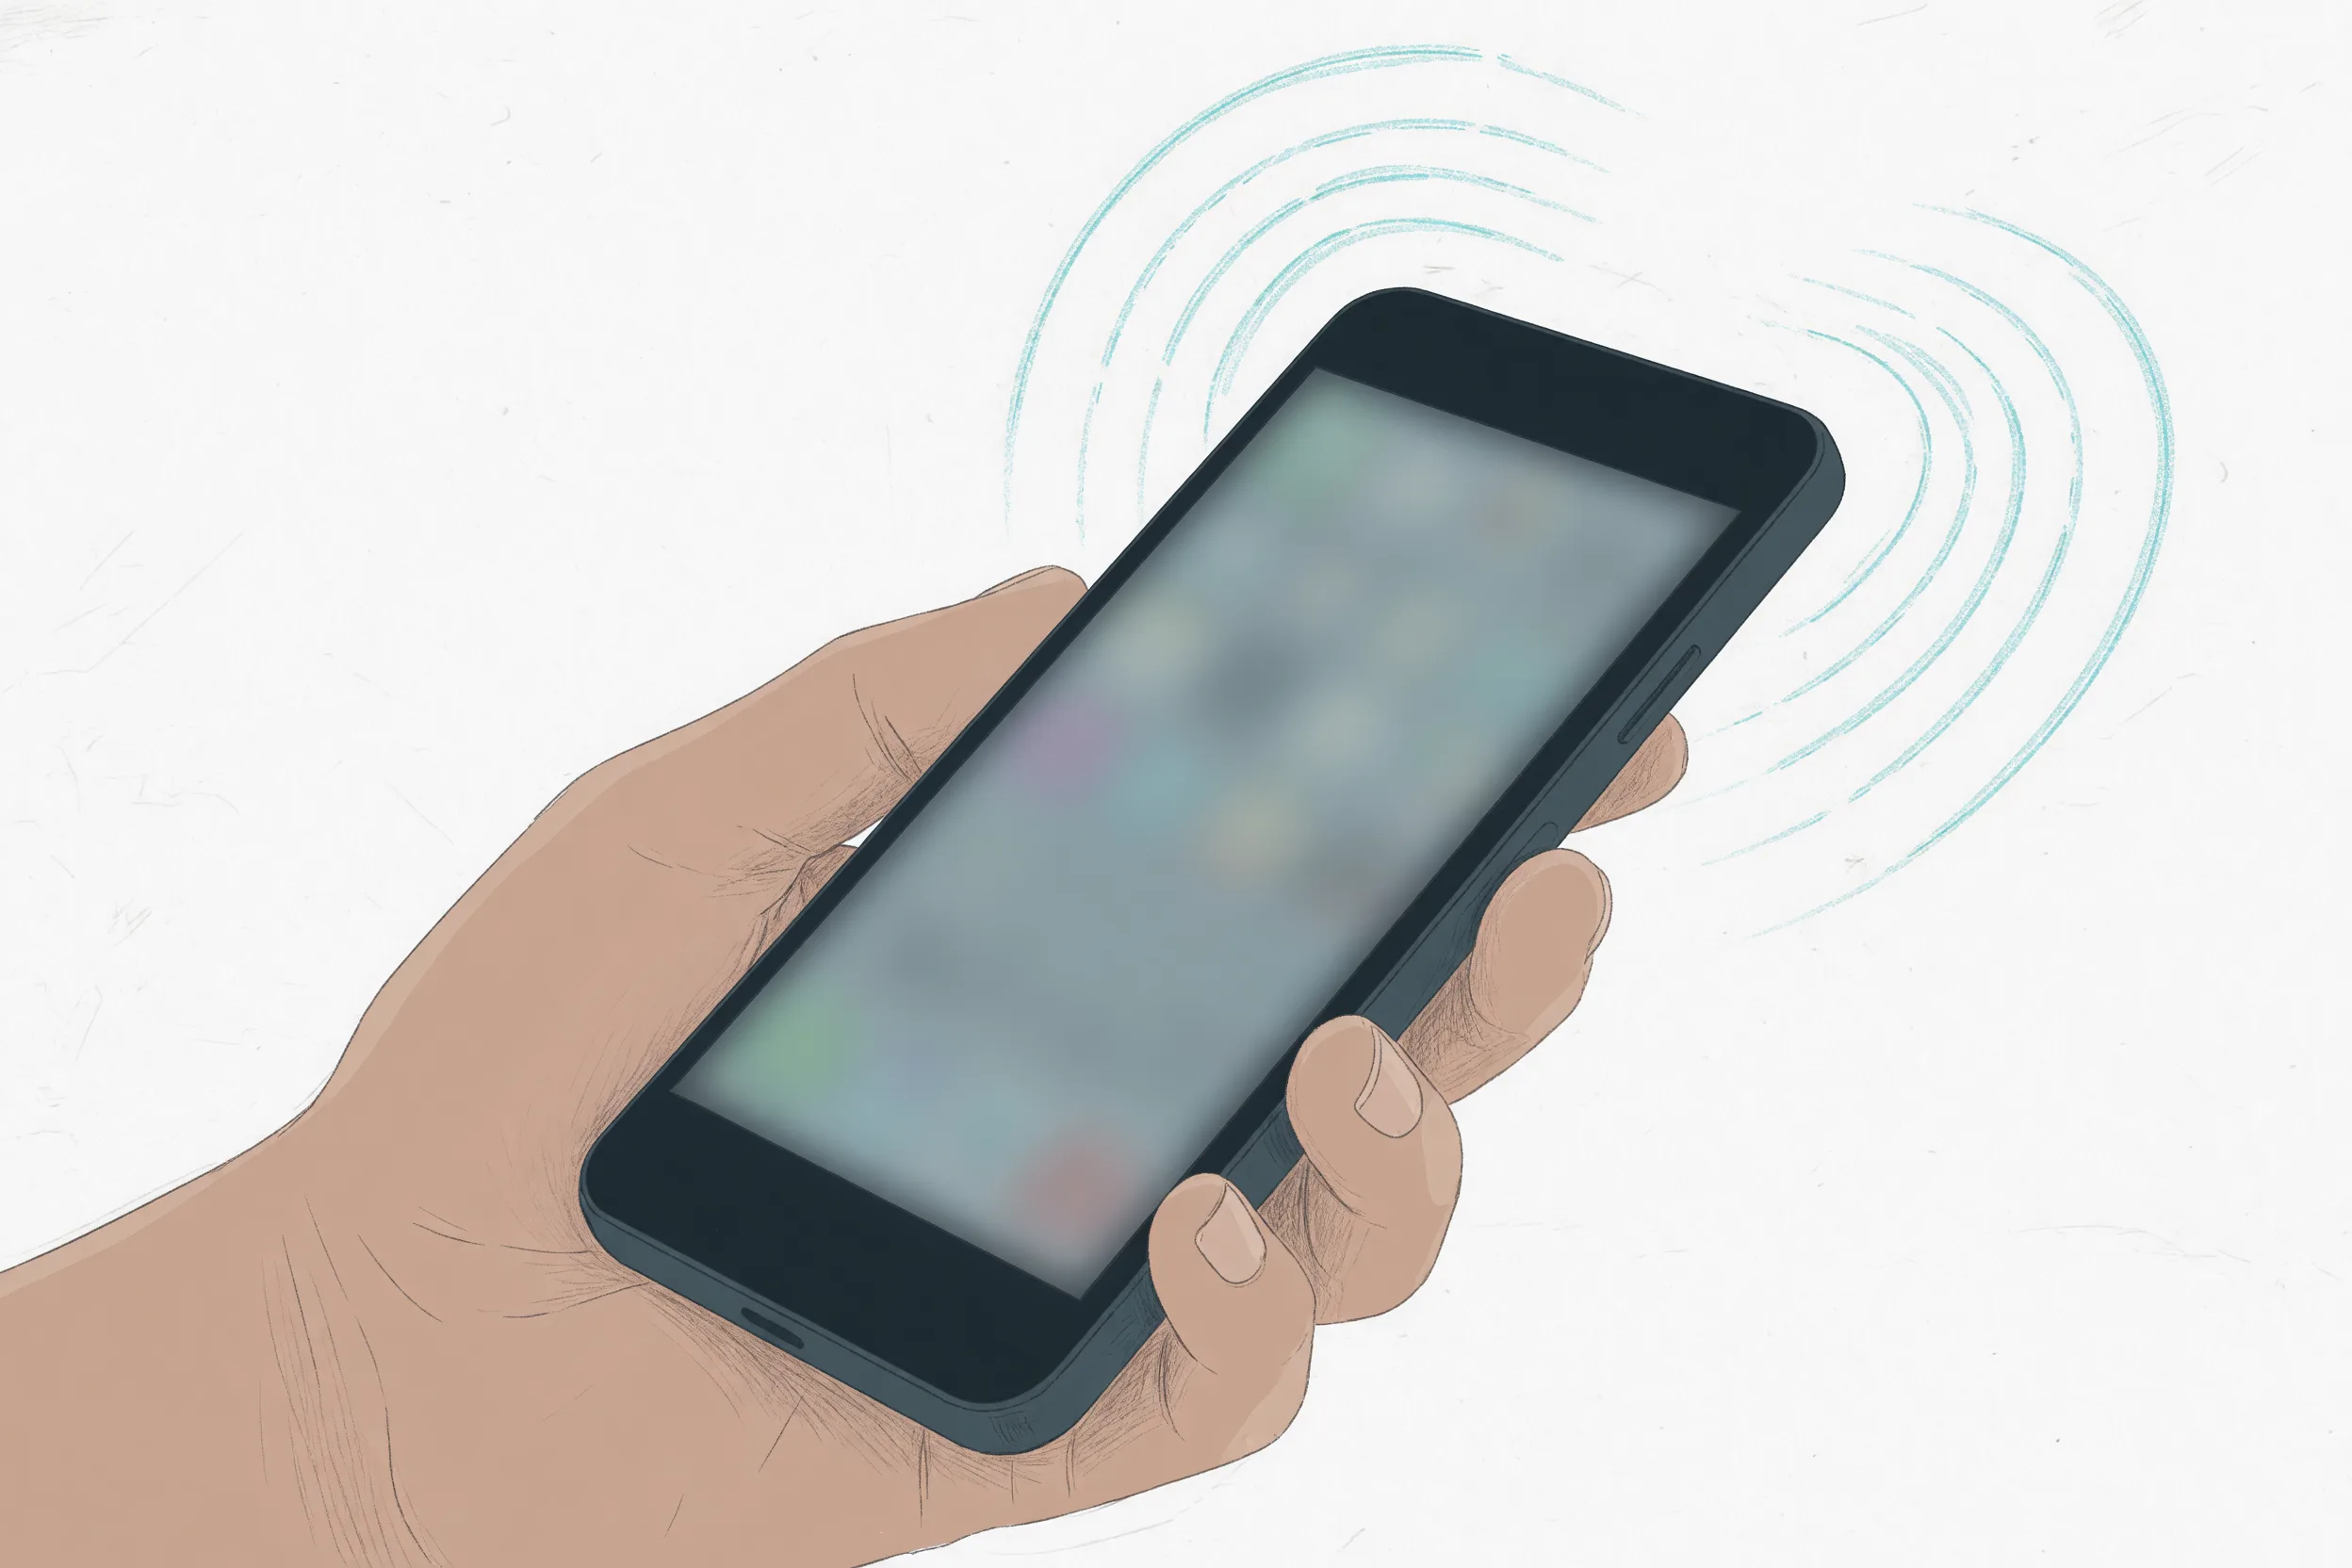
Personal hotspot on most Android phones is not a separate line. It shares whichever SIM is currently set as your default mobile-data SIM. There is generally no “use this SIM for hotspot, that one for everything else” toggle sitting apart from the regular data-SIM setting.
That means the order of operations matters. If you turn on hotspot before confirming the travel eSIM is your active data line, you can end up sharing your home SIM’s connection to a laptop while abroad, the exact roaming scenario the eSIM was supposed to avoid.
Before turning on hotspot:
- Confirm the travel eSIM is set as the mobile data SIM (the step from the previous section).
- Open your hotspot settings and check which connection it is drawing from, if your phone shows that detail.
- Turn on the hotspot toggle only after that check.
Not every travel eSIM plan permits hotspot use. Some SKUs restrict it or cap it differently from regular browsing. Check the specific plan’s terms on its product page before relying on it to get a laptop online.
Which Easy Travel Data plans work on your Android phone?
Any Android phone that is unlocked and eSIM-capable can use a travel eSIM from the catalog, and the setup steps above apply the same way regardless of which destination plan you buy. The catalog covers 190+ destinations with plans starting from $3.99, and each product page lists the coverage, data allowance, validity, and whether the plan allows top-ups or hotspot. If you are unsure how much data to buy for the trip, the trip data calculator sizes a plan by trip length and usage habits before you commit to a SKU. The eSIM vs. physical SIM vs. roaming comparison is also worth a look if you are still weighing an eSIM against your carrier’s roaming plan.
Two things worth checking before you buy, specific to Android: confirm your phone is unlocked (an eSIM will not activate on a carrier-locked device, regardless of manufacturer), and confirm it has eSIM support at all, since most phones sold in the last several years do, but budget and region-specific models sometimes ship SIM-tray-only.
Five things that go wrong, and how to fix them fast
- No confirmation email arrived. Check spam first; the QR code and activation instructions are sent by email, not through an app.
- The QR code scan fails or errors. Use the manual entry option in the same Add eSIM screen instead of rescanning repeatedly, since most scan failures are a camera-focus issue, not a bad code.
- You have signal but no data. This is almost always the data-SIM setting pointing at the wrong line, or data roaming being off for the travel eSIM specifically. Recheck the SIM manager settings from the sections above.
- Hotspot will not turn on, or turns on but nothing connects. Confirm the travel eSIM is the active data SIM first; a hotspot toggle that will not hold on is usually the phone reverting to a SIM with no active data plan.
- Battery drains unusually fast right after landing. Two active radios searching for a network at once (home SIM hunting for a carrier it cannot reach, plus the new eSIM connecting) is normal for the first few minutes; it should settle once both lines have locked onto a network.
If none of these fixes the issue, the general installation guide covers the setup sequence step by step from the start, which is worth revisiting if something was missed earlier in the process.
FAQ
Is my Android phone unlocked before I can use an eSIM?
Yes, an eSIM will not activate on a carrier-locked phone, so check your unlock status with your current carrier before you buy. This applies regardless of brand; locked and unlocked variants of the same model behave differently for eSIM.
Can I use an eSIM for data and keep my SIM for calls and texts?
Yes, and that is the setup most travelers should use, not an exception or workaround. Set the travel eSIM as your mobile data line and leave your home SIM handling calls and SMS, as described above.
Does turning on the eSIM start the day counter immediately?
Usually not. Most travel eSIM plans start counting validity on first data use at your destination, but a minority start counting from installation instead. Check the activation terms on the specific product page before you buy, since this varies by plan.
Can I use hotspot from my Android eSIM?
Most travel eSIM plans allow hotspot use, but not all of them do, and some cap it differently. Confirm on the specific SKU’s terms before planning to rely on it to get a laptop or tablet online.
Conclusion: set the data line once, then travel
Android’s native eSIM setup is not the hard part of any of this: installing a profile from a QR code takes about two minutes on either Samsung or Pixel. The part worth doing carefully is the dual-SIM configuration right after: mobile data on the travel eSIM, calls and texts on your home line, automatic data switching turned off (where the phone has that setting), and hotspot checked only after the data line is confirmed. Do that once before you fly and the rest of the trip runs on autopilot.
Before you buy, confirm
- Your Android phone is unlocked and supports eSIM.
- You know your phone’s exact SIM manager menu path (Samsung: Connections → SIM manager; Pixel: Network & internet → SIMs).
- You have checked the specific plan’s activation terms, first-use or install-time, on its product page.
- You know whether the plan you are buying allows hotspot, if you plan to use one.
- Automatic data switching is off, or your phone’s Primary SIM is set to the travel eSIM for data.
Soft next step
Once your phone is ready, browse plans for your destination in the Easy Travel Data catalog. Every product page lists the coverage, data, validity, and hotspot terms for that specific SKU. Plan details change, so treat the live listing on each product page as the source of truth before you buy.