
Airport Wi‑Fi lines, dead zones after landing, and surprise roaming bills are avoidable. A travel eSIM is a digital SIM you download to your phone. Install it at home on Wi‑Fi, then turn on data when you arrive.
This guide covers what to check before you buy, how to install on iPhone and Android, and when the plan usually starts. It matches how prepaid travel eSIMs work on stores like Easy Travel Data: QR by email, install before travel, and (for most plans) the clock starts on first connection at the destination.
Why install before you fly
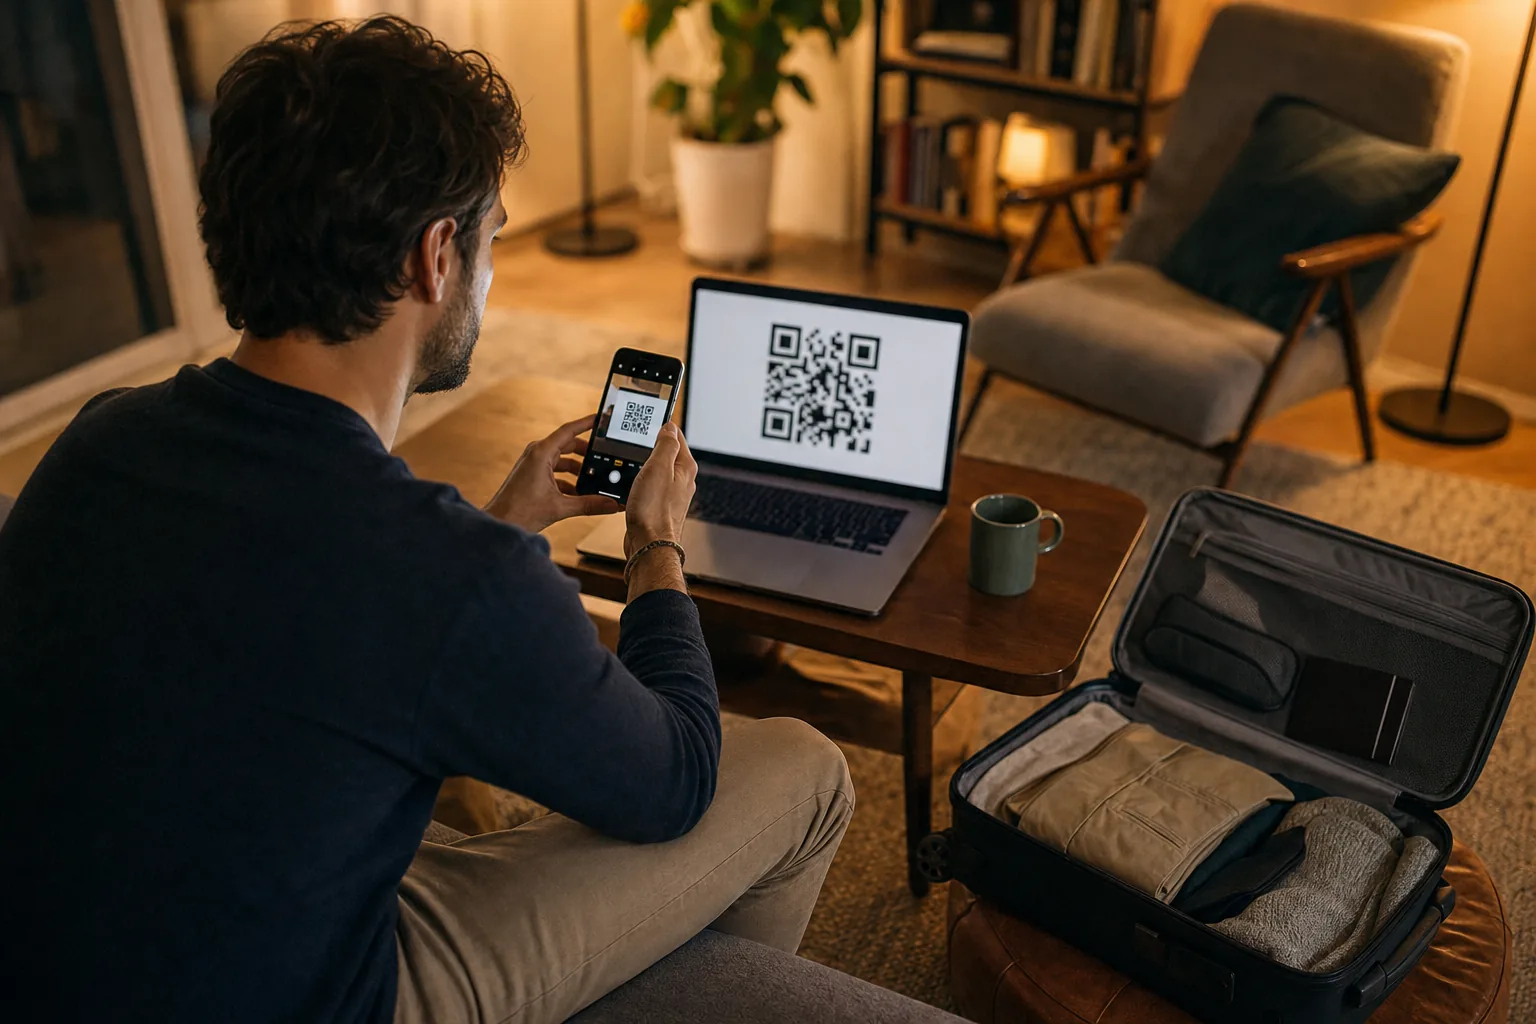
Installing early means you fix problems while you still have home Wi‑Fi and time: confirm eSIM support, scan the QR without airport networks, keep your regular number on your primary SIM, and land ready to enable the travel line, not hunt for a kiosk.
You do not need to wait until you are abroad to install the profile. Installation and “plan start” are often different moments.
Before you buy: a short checklist
1. Confirm eSIM support
On most recent iPhones, Google Pixels, and many Android phones, look in Settings for an option such as Add eSIM or Add Cellular Plan. Carrier-locked phones may block a travel eSIM even if the hardware supports one. If your device is locked to a home carrier, unlock it first or use an unlocked secondary device.
2. Prefer a stable Wi‑Fi connection for install
Download and install the eSIM profile on home or hotel Wi‑Fi. Cellular data during install can work, but Wi‑Fi is calmer and more reliable.
3. Read the plan page for activation rules
Most travel plans activate on first connection to the destination network (or first data use). A few start as soon as you install. Always check the product page before checkout so you know whether installing early burns validity days.
On Easy Travel Data, delivery and timing are also summarized on the Delivery & activation page, and common questions live in the FAQ.
4. Keep your checkout email accessible
After payment, activation instructions and a QR code are emailed, usually within a few minutes. Open that email on the phone you will use, or keep the QR visible on a second screen (laptop or tablet) so you can scan it.
Treat the QR as single-use. Do not forward it casually or post screenshots publicly before the profile is installed.
What arrives after you pay
Knowing exactly what lands in your inbox removes most of the anxiety from the ten minutes after checkout. On Easy Travel Data the delivery email is titled “Your eSIM is ready to install” and it carries three things:
- A QR code for the normal install path.
- An SM-DP+ address, which is the server your phone downloads the profile from.
- An activation code that goes with it.
The SM-DP+ address and the activation code are the manual route, and they are the reason the email matters more than the QR image. If the email is open on the same phone you are installing to, there is no second screen to scan from. Choose Enter Details Manually and type those two fields instead. It works identically.
The same three details also appear on the order confirmation page you land on straight after payment, and on the Check order page later, so losing the email is not the end of the world. Full wording is on the delivery and activation page.
If nothing arrives
Delivery usually takes a few minutes. When it does not, work through this order:
- Check the spam or junk folder. Delivery emails land there more often than anywhere else.
- Open the order confirmation page, or Check order with your order number and checkout email. The QR and activation details are shown there too.
- If an hour passes from payment and the eSIM is still not ready, the order refunds in full automatically. You do not have to ask, and you do not have to wait on a reply.
Treat the QR as single-use. The QR code and activation details work once, on one device. Do not share them, and do not delete the eSIM from your phone until the plan has ended, because the same code will not install a second time.
How to install a travel eSIM on iPhone
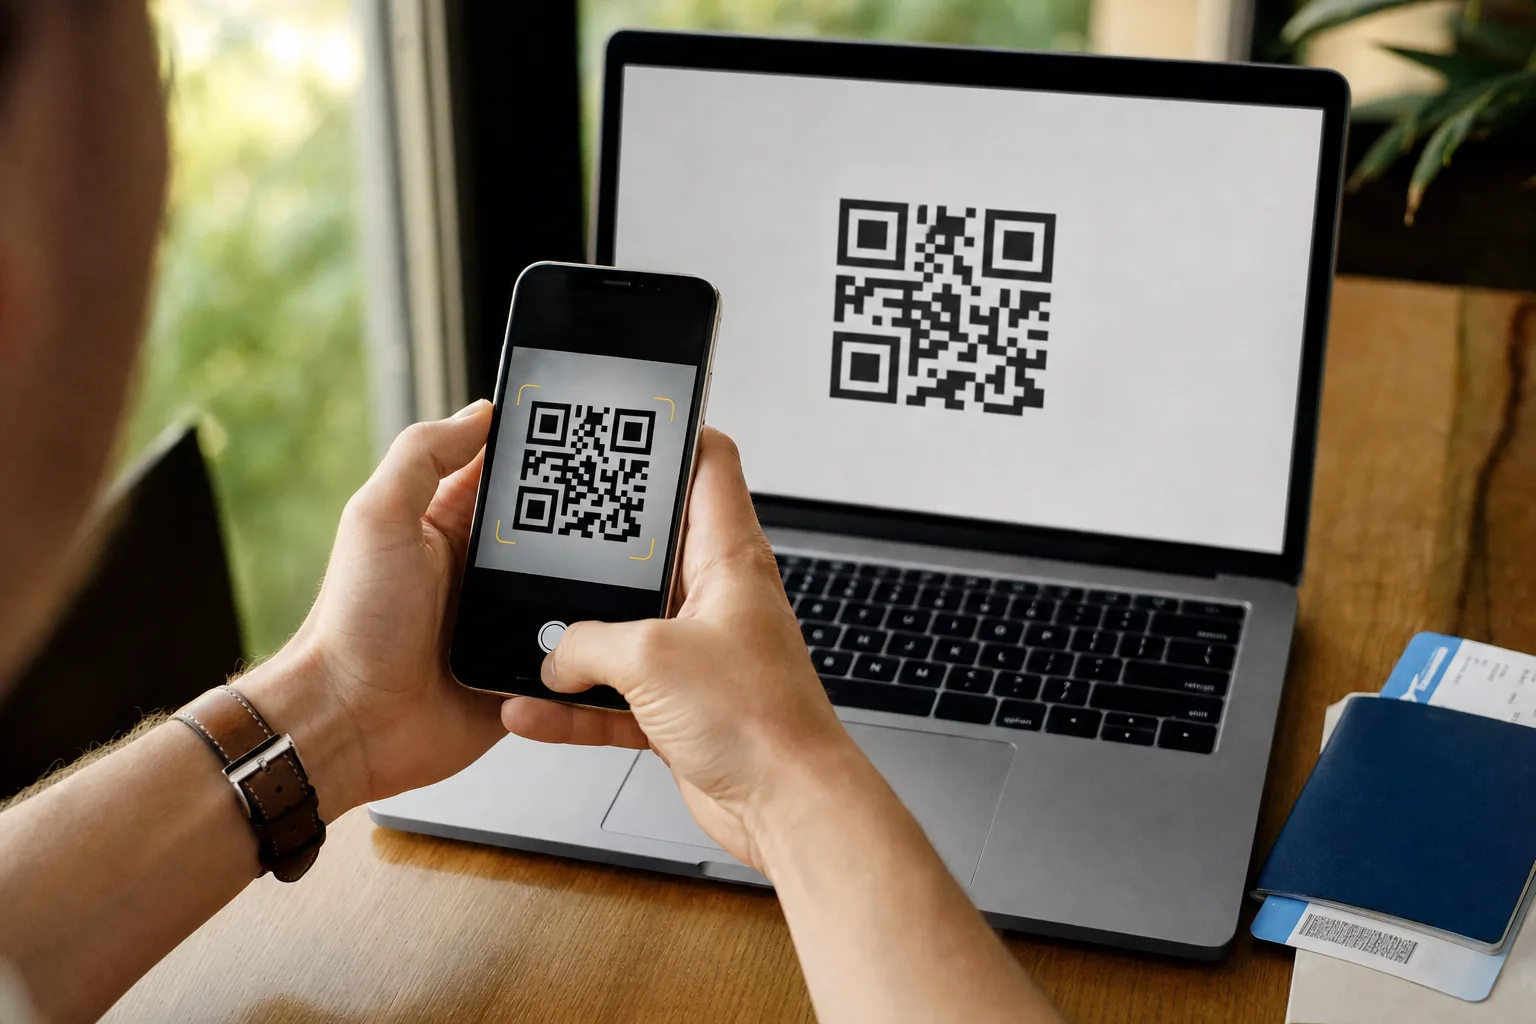
Steps vary slightly by iOS version, but the flow is similar:
- Open the email titled “Your eSIM is ready to install” and find the QR code (the SM-DP+ address and activation code are in the same email).
- Go to Settings → Cellular (or Mobile Data).
- Tap Add eSIM / Add Cellular Plan.
- Choose Use QR Code and scan the code from your email or second device.
- Follow the prompts to label the line (for example, “Travel”) so you can tell it apart from your home line.
- Keep voice/SMS on your primary SIM if you want your usual number. Leave cellular data on the home line until you land, then switch data to the travel eSIM.
- Leave the new eSIM installed. For most plans, enable data roaming on that line only when you arrive.
If scanning fails, use the Enter Details Manually option with the SM-DP+ address and activation code from the same email.
How to install a travel eSIM on Android
Android menus differ by brand (Pixel, Samsung, and others), but look for:
- Settings → Network & internet → SIMs (or Connections → SIM manager).
- Add eSIM / Download a SIM instead.
- Scan the QR code from your confirmation email.
- Name the profile and decide whether it should use mobile data now or later.
- Keep your physical SIM (or primary eSIM) for your normal number if you want dual-SIM behavior.
If you do not see an add-eSIM option, your device may not support eSIM, or the carrier software may hide it. Check the manufacturer’s help pages for your exact model.
After you land: connect without the scramble
When you arrive at your destination:
- Turn off airplane mode (or leave Wi‑Fi calling settings as you prefer).
- Enable the travel eSIM line.
- Turn on data roaming for the eSIM line (this is normal for travel eSIMs; it does not mean expensive home-carrier roaming if your home line’s roaming stays off).
- Set mobile data to the travel eSIM.
- Give the phone a minute to register on a local network.
If nothing connects, toggle airplane mode once, confirm the correct data line, and verify you are in the plan’s covered country or region. If nothing works, use check order or contact. Do not delete the eSIM on a whim; profiles are often one-time installs.
When data does not come up
Most arrival problems are one of six things, and five of them are settings rather than faults. Work down the table before you assume the eSIM is broken.
| What you see | Check first | Then |
|---|---|---|
| No signal at all on the travel line | The line is switched on in Settings and airplane mode is off | Toggle airplane mode on for ten seconds and off again to force a fresh network attach |
| Signal, but nothing loads | Mobile data is pointed at the travel line, and data roaming is on for that line | Confirm you are inside a country on the plan’s coverage list |
| Worked yesterday, dead today | Remaining data and remaining days on the plan | Top up if the plan allows it; if it does not, you need a second plan |
| Hotspot will not switch on | The product page says hotspot is allowed | Set the travel line as the data line first, then enable hotspot |
| The QR will not scan | Use Enter Details Manually instead | The SM-DP+ address and activation code are in the same email |
| The email never arrived | Spam folder, then the order confirmation page or Check order | After an hour with no eSIM the order refunds automatically |
If you are still offline after all six, use Check order or contact us with your order number. Resist the urge to delete the profile and reinstall: that is the one action in this list you cannot undo.
Common mistakes to avoid
- Installing at the gate with no backup screen. Save the QR code image or open the email on a laptop before you board.
- Assuming every plan starts on install. Many wait for first connection; some do not. Read the plan.
- Leaving home-carrier data roaming on. That is how surprise bills happen. Use the travel eSIM for data; keep home roaming off unless you intentionally need it.
- Deleting the eSIM to “reset” it. Reinstallation may not be possible with the same QR.
- Buying without checking hotspot rules. Tethering depends on the plan. Check the product page if you need to share data with a laptop.
FAQ
Can I install the eSIM days before my trip?
Yes, in most cases. Installing early is fine when the plan activates on first destination connection. Confirm on the plan page so early install does not start a short validity window by mistake.
Will I lose my regular phone number?
No. A travel eSIM can run alongside your existing SIM. Keep calls and texts on your primary line if you want; use the eSIM for data abroad.
Do I need the QR code after installation?
Once the profile is on the phone, you usually do not need to scan again. Keep the email until you have confirmed data works at the destination, in case support asks for order details.
What if my phone is not compatible?
Do not buy until you see an add-eSIM option in Settings (and the phone is unlocked). Browse destinations later when you have a compatible device: travel eSIM catalog.
Can I move the eSIM to a different phone?
No. The QR code and activation details install once, on one device. If you change phones mid-trip you need a new plan. This is also why deleting the profile to “reset” it is a bad idea: the same code will not reinstall.
What happens if my eSIM never arrives?
If the eSIM is not ready within one hour of payment, the order is refunded in full automatically. You do not need to contact anyone or wait for a support reply. Check your spam folder first, because a delayed email is far more common than a delayed eSIM.
Soft next step
If you know your destination, pick data and validity ahead of time, install on home Wi‑Fi, and fly with one less task after landing.
iPhone users can check the device-specific guide, Using a Travel eSIM on iPhone, which covers dual-SIM roles, line labels and iMessage pitfalls. For sizing help, start with our data-need guide.
Browse plans at Easy Travel Data or the destination catalog. Japan plans: Japan eSIM. Timing and QR help: FAQ · Delivery & activation.